

Knowing how to activate a Flow in Salesforce or deploying one from a sandbox environment is an essential step in launching automation in your Salesforce org.
This guide provides a concise, step-by-step approach to activating a Flow in Salesforce from Setup, deploying via Change Sets, and using a Salesforce CLI code editor, like Visual Studio Code.

Stop Dragging Your Feet on Flow Builder
You Must Transition Off Workflow Rules and Process Builder in 2025.
Our team specializes in reviewing, auditing, and converting legacy automation to Flows.
Book a free 30-minute consultation to begin your seamless transition to Flows!
Activating a Flow within Salesforce
Before activating a Flow, ensure it is correctly configured and error-free:
- Test the Flow: Use the Flow Debug tool to verify functionality and expected outcomes.
- Check for Errors: Review error messages and confirm all required fields, variables, and conditions are properly set.
- Verify Dependencies: Ensure related objects, fields, record types, and permissions are in place.
- Confirm Flow Type: Ensure you are activating the correct Flow type, such as Record-Triggered, Screen Flow, or Auto-Launched Flow.
Once these steps are completed, you can proceed with activation.
How to Activate a Flow
Once your Flow is ready, follow these steps to activate it:
- Navigate to Flow Builder: Go to Setup using the Quick Find Box → then select Flows.
- Select Your Flow: Click on the Flow you want to activate.
- Click Activate: In the Flow Builder, click the “Activate” button bar at the top right.
- Review Versions: Ensure the correct version of the Flow is activated, as only one version can be active at a time.

Need to Activate an Older Flow Version?
Let’s say you want to go back in time — you made a mistake and you want to activate a previous version of the flow you’re working on. You can do that.
Clicking on the flow will take you to the most recent flow version.
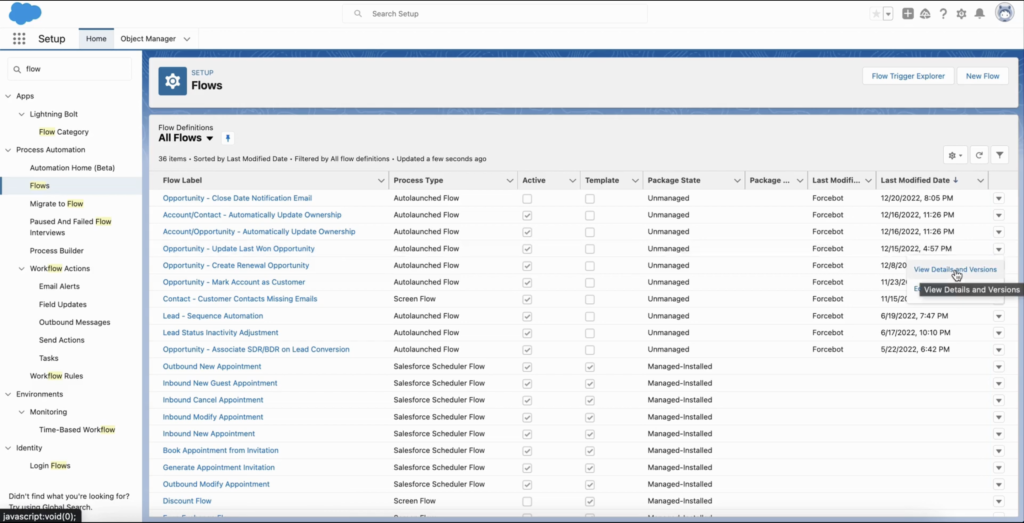
To find a previous version of a flow:
- Enter Setup and use the Quick Find tool to search for “Flows.” Select it.
- Will be directed to your “Flows Definitions” page. Here, you can view all of your flows.
- Locate the flow you’re working on, but do not click it.
- Navigate to the righthand side of the interface, where you’ll see a dropdown arrow. Click it.
- On the menu, click View Details and Versions.
- Identify the previous version you want to activate.
- You can review any Flow version by clicking “Open.”
- Click Activate to make it the active version.
How to Activate a Flow in Salesforce with Change Sets
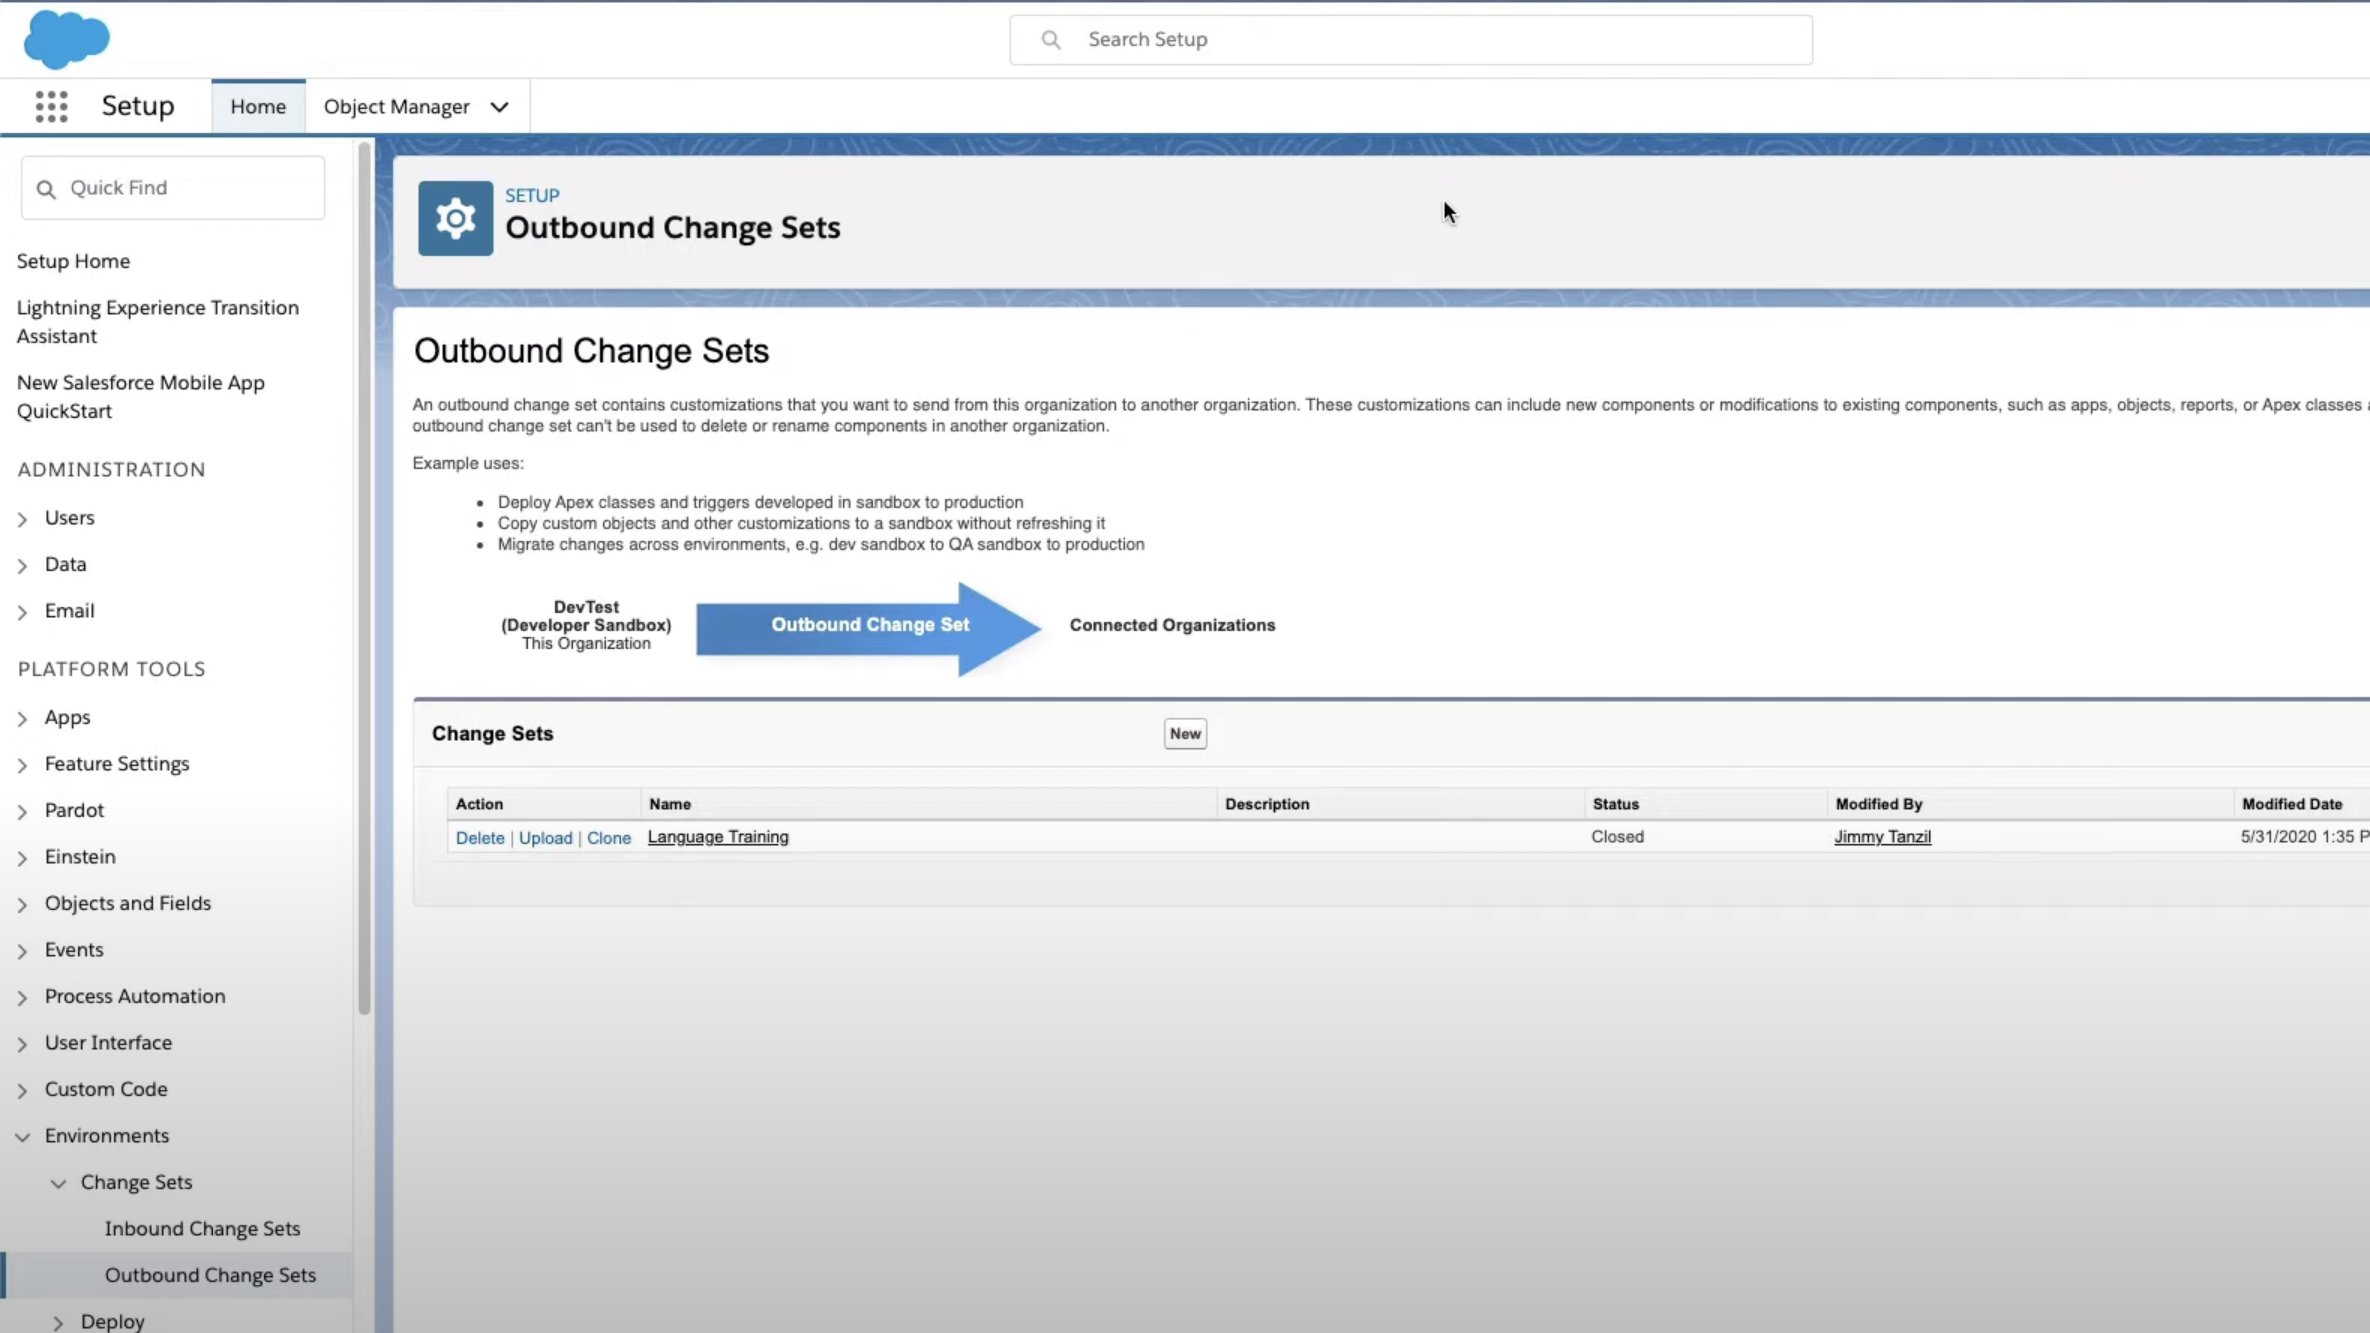
Change Sets allow you to export a Flow from a sandbox environment to a production org.
- Login to Your Sandbox Organization
- Navigate to Change Sets:
- Go to Setup → Outbound Change Sets in the source org.
- Ensure connections are set up between organizations.
- Create a New Change Set:
- Click New, provide a name description if needed, and save it.
- Add Components:
- Click Add under Change Set Components.
- Select Flow Definition from the Component Type dropdown.
- Choose the Flow you want to deploy.
- Add related dependencies (e.g., custom fields, objects, permissions).
- Add Profile Settings
- Select the desired profile, so you have access to the flow when you transfer it over.
- Upload the Change Set:
- Click Upload and select the target Salesforce org.
- Deploy in Production Org (Inactive):
- In the target production org setup, use the quick finder to locate Inbound Change Sets.
- Locate the uploaded Change Set and click Validate.
- If validation succeeds, click Deploy.
- Flows deploy in an inactive state.
- Activate the Flow:
- After deployment, navigate to Flows in the production org.
- View your deployed Flow
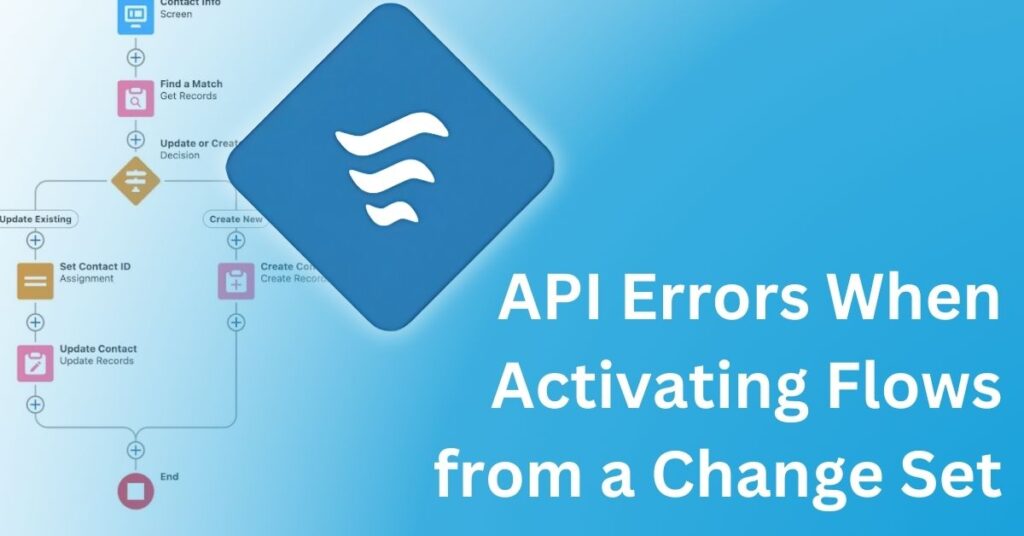
API Errors When Activating Flows from a Change Set
When deploying Flows to production via Change Sets, it’s crucial to be aware of API version mismatches, especially during Salesforce release cycles.
At certain times of the year, a sandbox environment may be on a newer Salesforce release while the production environment remains on an older version.
For example, if a sandbox is running API version 63 but the production environment only supports API version 62, attempting to deploy a Flow without adjusting its version will result in deployment errors.
To successfully deploy the Flow, you need to manually downgrade the Flow’s API version in the sandbox to match the production environment before proceeding with the Change Set deployment.
This versioning challenge occurs periodically during Salesforce seasonal updates. To avoid errors and deployment failures, always verify the API compatibility between sandbox and production before pushing changes.
How to Activate a Flow in Salesforce Using VS Code
You can use code editors, such as Visual Studio (VS) Code, to deploy and activate a flow and its components.
Within VS Code, you can deploy a flow to a target org by simply right-clicking the flow and selecting SFDX: Deploy Source to Org.
How to Activate a Flow using a Package.XML file
You can also use a package.xml file to deploy your flow.
1. Create a package.xml under the manifest folder.
Replace “Your_Flow_Name” with the name of the flow you want to move.
<?xml version="1.0" encoding="UTF-8"?>
<Package xmlns="http://soap.sforce.com/2006/04/metadata">
   <types>
       <members>Your_Flow_Name</members>
       <name>Flow</name>
   </types>
   <version>55.0</version>
</Package>
Run the following command to retrieve the flow metadata from the source org. The metadata is then stored in the retrieved_metadata folder as an unpackaged .zip file.
sfdx force:mdapi:retrieve -u sourceOrg -k package.xml -r ./retrieved_metadata2. Unzip the retrieved metadata.
unzip ./retrieved_metadata/unpackaged.zip -d ./retrieved_metadata/unpackaged3: Deploy the flow to the target org
sfdx force:mdapi:deploy -u targetOrg -d ./retrieved_metadata/unpackaged -w -14. Verify that the correct version has been deployed in the target org and that it is activated.
Get Professional Help with Flows
CRMNinjas specializes in migrating, optimizing, and troubleshooting Flows to ensure seamless automation for your business.
Contact us to streamline your workflows and future-proof your Salesforce automation.
FAQs on Activating and Deploying Flows in Salesforce
Where Can a Flow be Quickly Activated in Salesforce?
A Flow can be quickly activated in Flow Builder. Navigate to Setup → Process Automation → Flows, select the Flow, and click the Activate button in the top-right corner. Only one version of a Flow can be active at a time.
Where Can a Flow be Quickly Activated in Salesforce?
A Flow can be quickly activated in Flow Builder. Navigate to Setup → Process Automation → Flows, select the Flow, and click the Activate button in the top-right corner. Only one version of a Flow can be active at a time.
How to Deploy an Active Flow in Salesforce?
To deploy an active Flow in Salesforce, you can use Change Sets, VS Code (Salesforce CLI).
How do I activate the previous version of a Flow in Salesforce?
To activate a previous version of a Flow: Go to Setup → Process Automation → Flows. Find the Flow and click View Details and Versions. Identify the previous version you want to activate. Click Activate to make it the active version.


